
















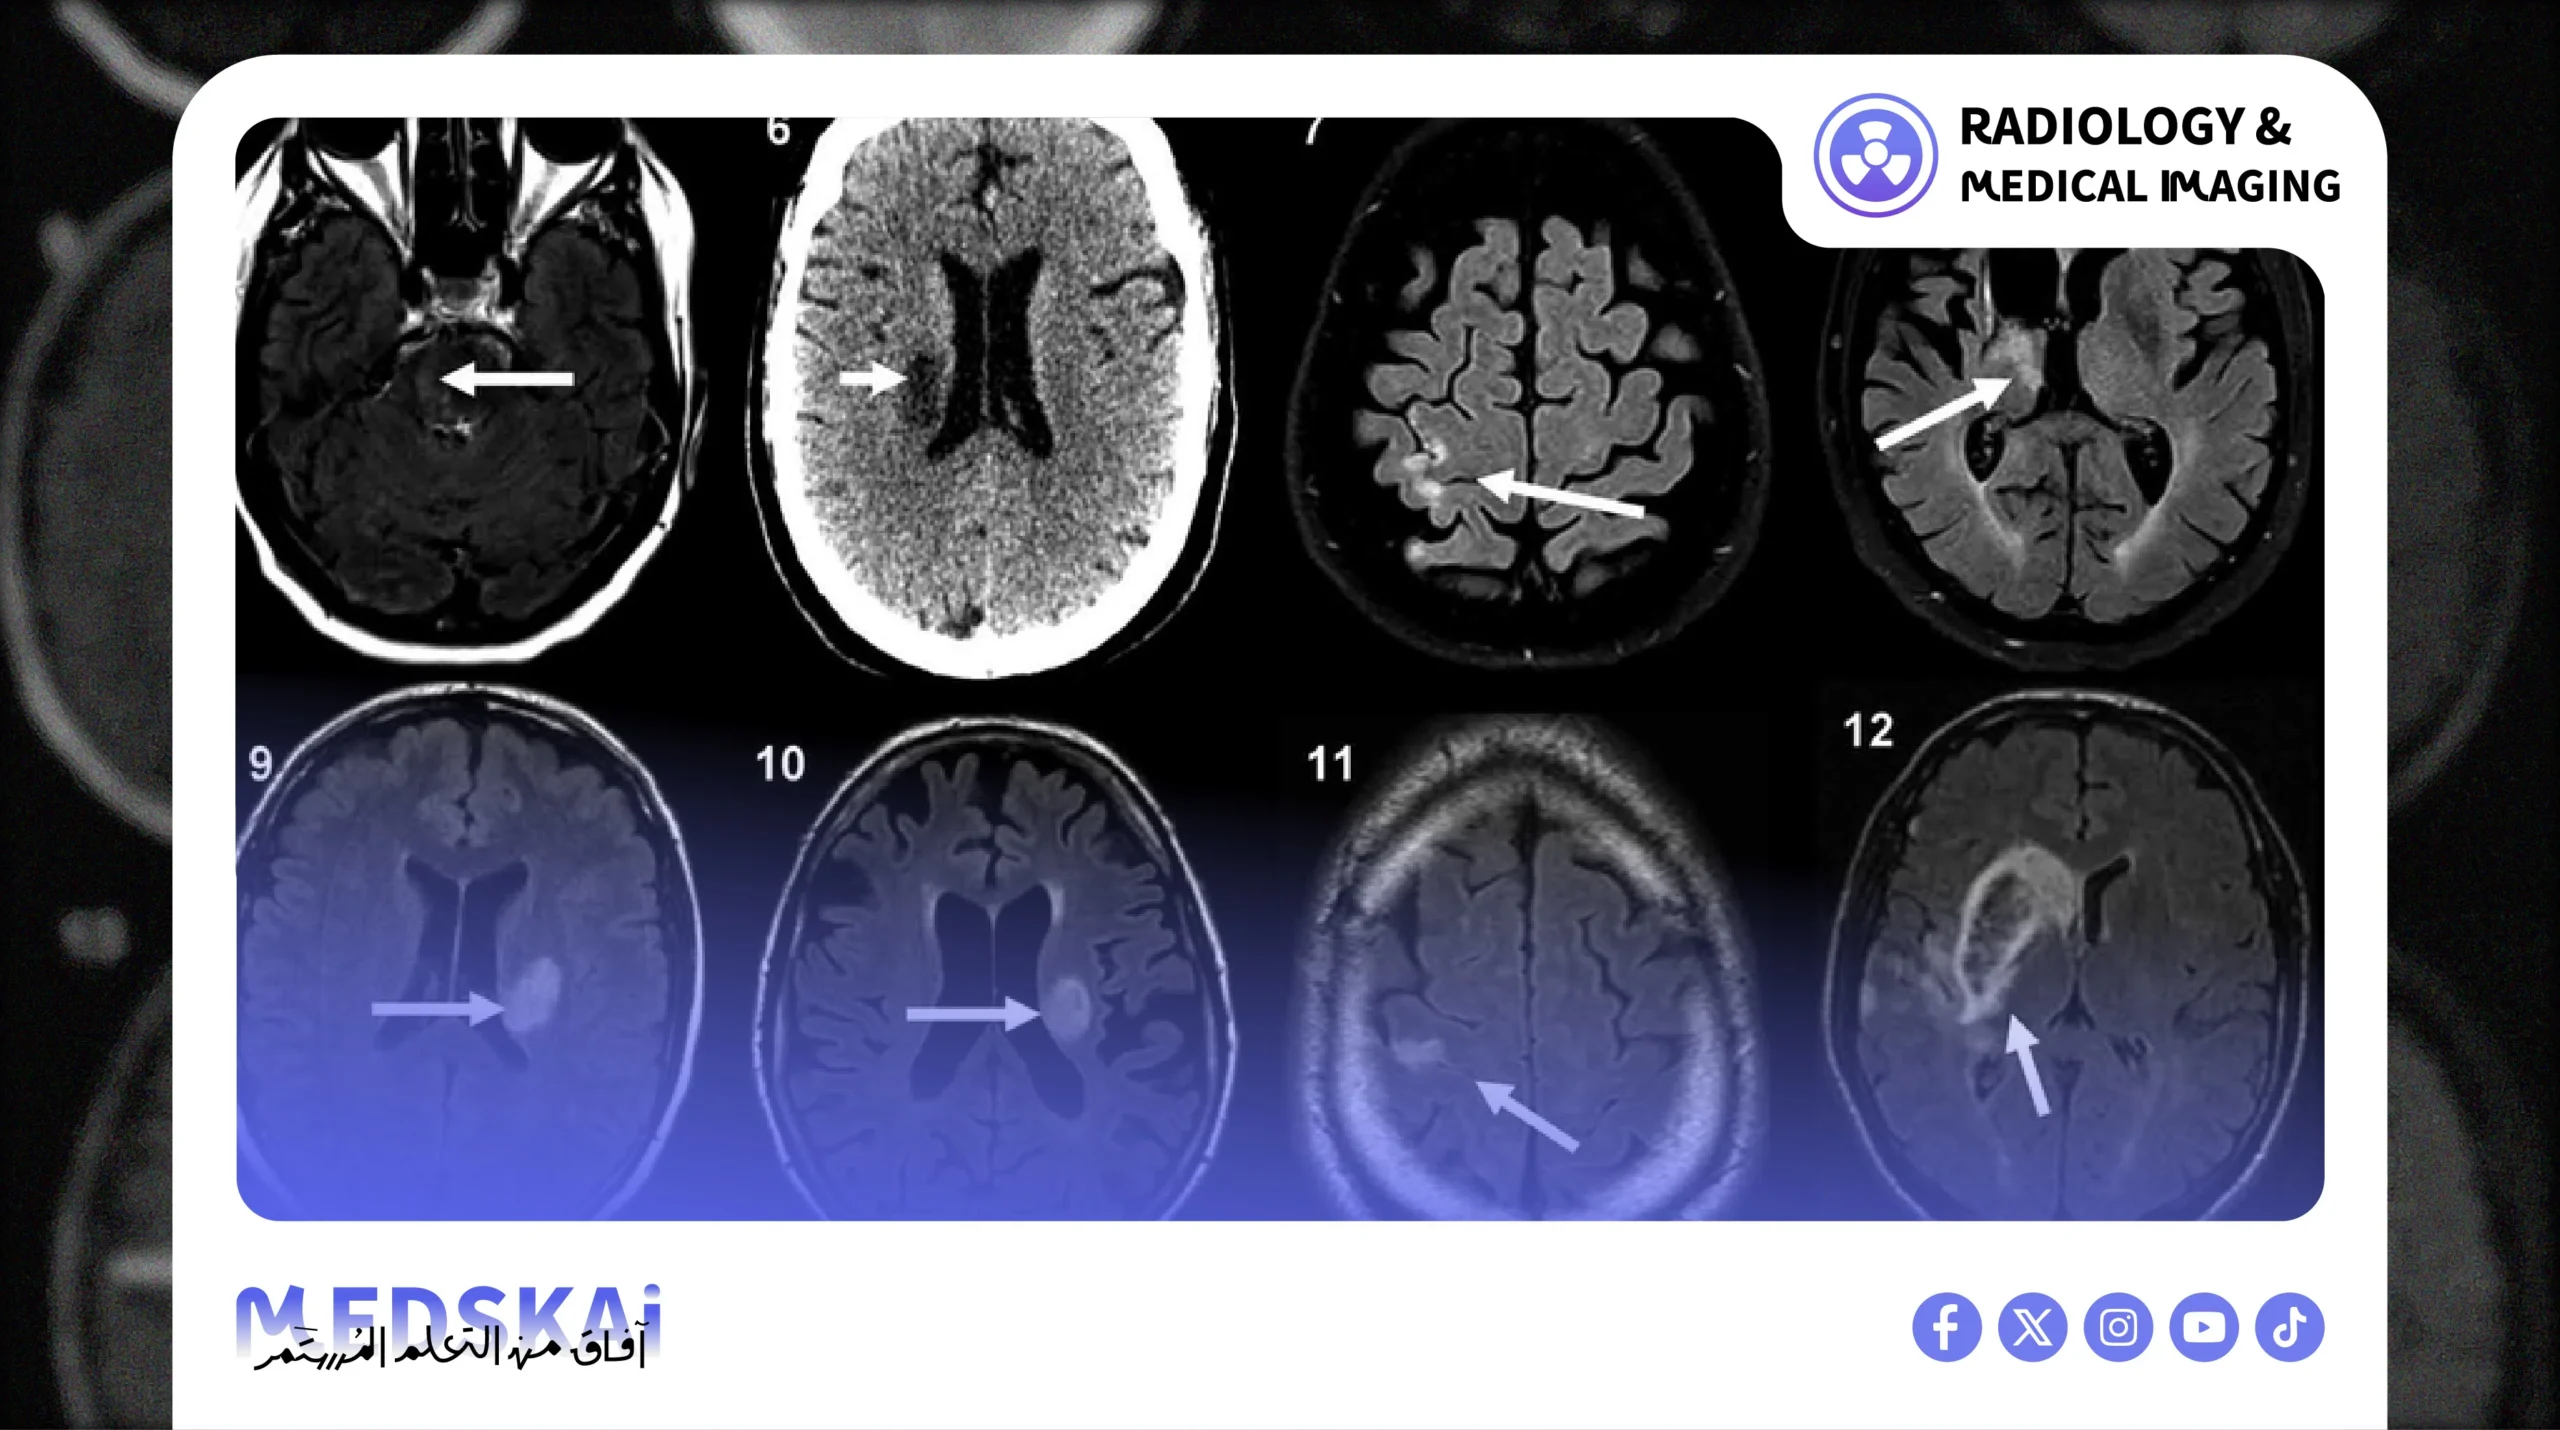
Best MRI Brain Protocol Guide: 7 Sequences & QC Checklist
A reliable MRI brain protocol is what separates a confident diagnosis from a repeat scan. Brain MRI is one of the most frequently performed studies in neuroradiology, and each sequence highlights different tissue characteristics. So, the order you run them in, and how you check them, directly affects diagnostic quality.
This guide walks technologists through the standard MRI brain protocol step by step: which sequences to run, why each one matters clinically, the pitfalls that trigger repeat scans, and a pre-exit quality-control (QC) checklist you can apply for every exam.
Table of Contents
- Why a Solid MRI Brain Protocol Matters
- Standard MRI Brain Protocol: Step-by-Step Order
- The 7 Core Sequences Explained
- When to Add Extra Sequences
- Improving FLAIR Image Quality
- Pre-Exit QC Checklist
- Common Pitfalls That Trigger Repeats
- Frequently Asked Questions
Why a Solid MRI Brain Protocol Matters
A well-designed MRI brain protocol allows accurate evaluation of brain anatomy and pathology, because each sequence answers a different clinical question. For an overview of how the core sequences differ, the Radiopaedia MRI sequences overview is a useful reference. Used together, anatomical, fluid-sensitive, diffusion and susceptibility sequences build one complete diagnostic picture.
For technologists, understanding why each sequence is used, when to add others, and how to verify image quality before ending the exam is what produces diagnostic images and prevents unnecessary repeats.
Standard MRI Brain Protocol: Step-by-Step Order
A routine brain MRI follows a logical order to ensure complete coverage. While it varies by indication, most studies follow this MRI brain protocol sequence:
- Localizer (scout images)
- T1-weighted imaging (axial or sagittal)
- T2-weighted imaging (axial)
- FLAIR (axial)
- Diffusion-weighted imaging (DWI) with ADC map
- SWI or GRE (axial)
- Post-contrast T1-weighted imaging (if contrast is used)
Order is adjusted by scenario. In suspected stroke, DWI is performed immediately after the localizer to avoid delay seeing the dedicated fast stroke MRI workflow for that focused protocol.
The 7 Core Sequences Explained
1. Localizer (Scout)
The first step in every exam. Used for geometric planning and to confirm coverage of the target region in all three planes.
2. T1-Weighted Imaging
T1 depends on longitudinal relaxation: fat appears bright, water dark. It evaluates anatomy, detects subacute hemorrhage, and assesses contrast enhancement. Pitfall: melanin, fat, and highly concentrated proteins can appear bright and mimic hemorrhage, so always read it alongside other sequences.
3. T2-Weighted Imaging
Water-containing structures appear bright. T2 is highly sensitive to tumors, inflammation, edema, and infection. Pitfall: flow voids from rapid blood flow can mimic vascular occlusion if not correlated.
4. FLAIR (Fluid Attenuated Inversion Recovery)
Essentially T2 with CSF suppression, so periventricular lesions become visible, useful for multiple sclerosis, subarachnoid hemorrhage, and encephalitis. Pitfall: CSF pulsation artifact near the skull base can mimic hemorrhage.
5. Diffusion-Weighted Imaging (DWI) + ADC
DWI is the most sensitive sequence for acute ischemic stroke within minutes of onset; ischemic tissue is bright on DWI and dark on ADC. Always read the ADC map to avoid T2 shine-through more detail in our guide to interpreting DWI and ADC maps.
6. SWI / GRE
SWI is extremely sensitive to susceptibility differences more than conventional GRE for microhemorrhages. Add it for microbleeds, diffuse axonal injury, venous thrombosis, and calcifications.
7. Post-Contrast T1
Performed after gadolinium when a tumor, metastasis, infection, or blood-brain barrier breakdown is suspected. It is the primary sequence for identifying enhancing lesions; it is not added routinely without a clinical indicator.
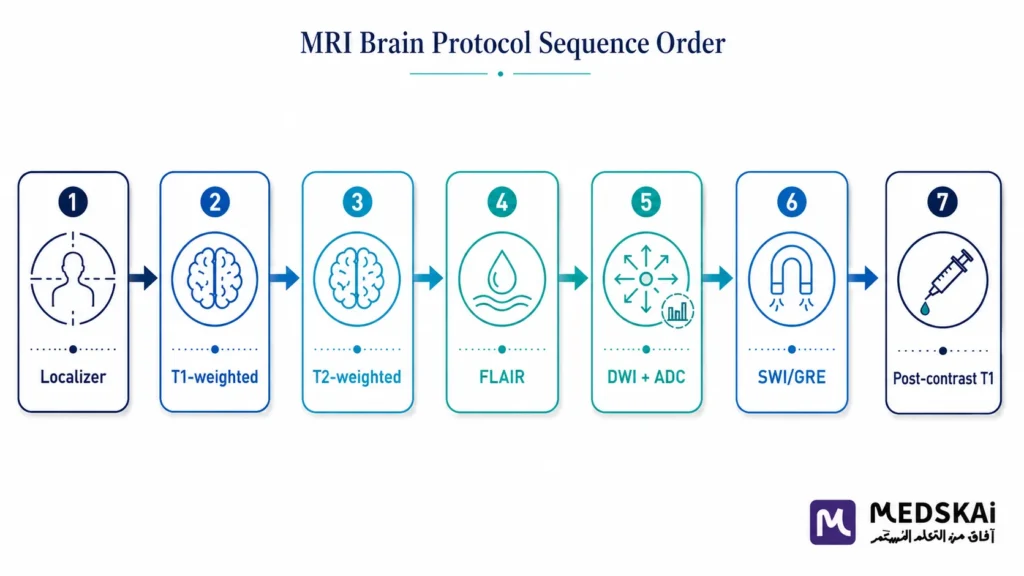
MRI brain protocol sequence order from localizer to SWI
When to Add Extra Sequences
- Suspected demyelinating disease (MS): sagittal FLAIR and a 3D sequence to document lesions.
- Suspected tumor: perfusion and spectroscopy sequences.
- Epilepsy: thin coronal FLAIR and coronal T2 to assess the hippocampus.
- Vascular evaluation: MRA with or without contrast.
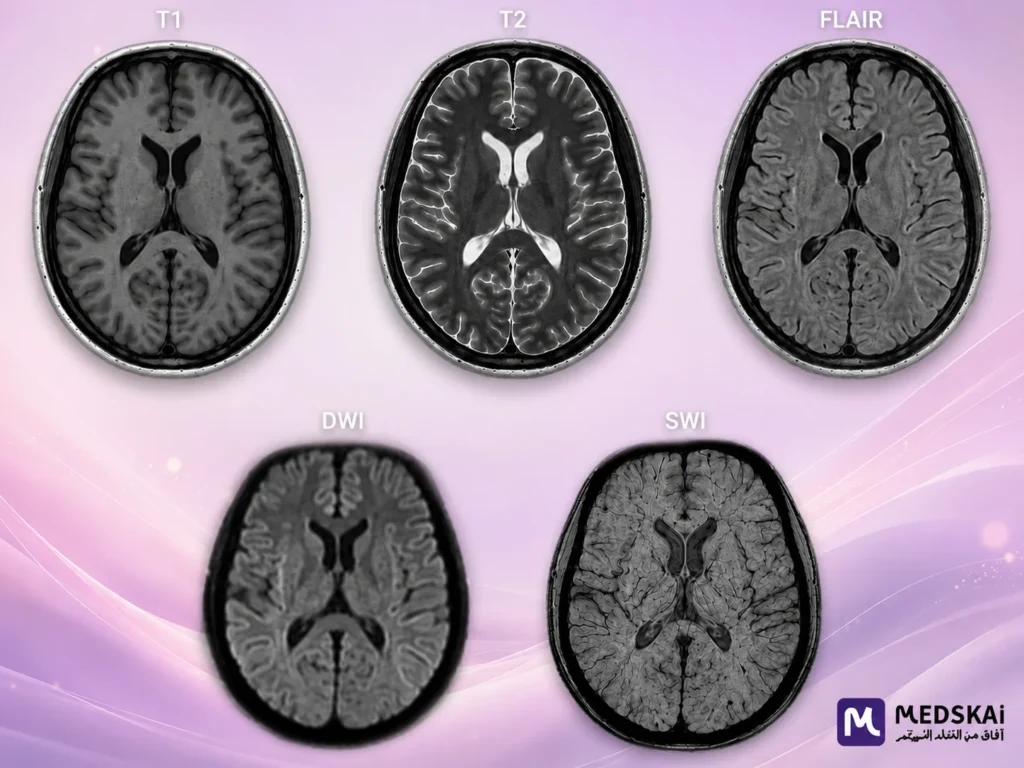
T1, T2, FLAIR, DWI and SWI comparison in the MRI brain protocol
Improving FLAIR Image Quality
- Reduce motion with PROPELLER or BLADE, especially in uncooperative patients.
- Adjust echo train length (ETL): a shorter ETL improves sharpness and signal-to-noise.
- Optimize inversion time (TI) for 1.5T vs 3T; an incorrect TI causes incomplete CSF suppression.
- Use fat suppression to reduce unwanted scalp and orbital fat signal.
Pre-Exit QC Checklist
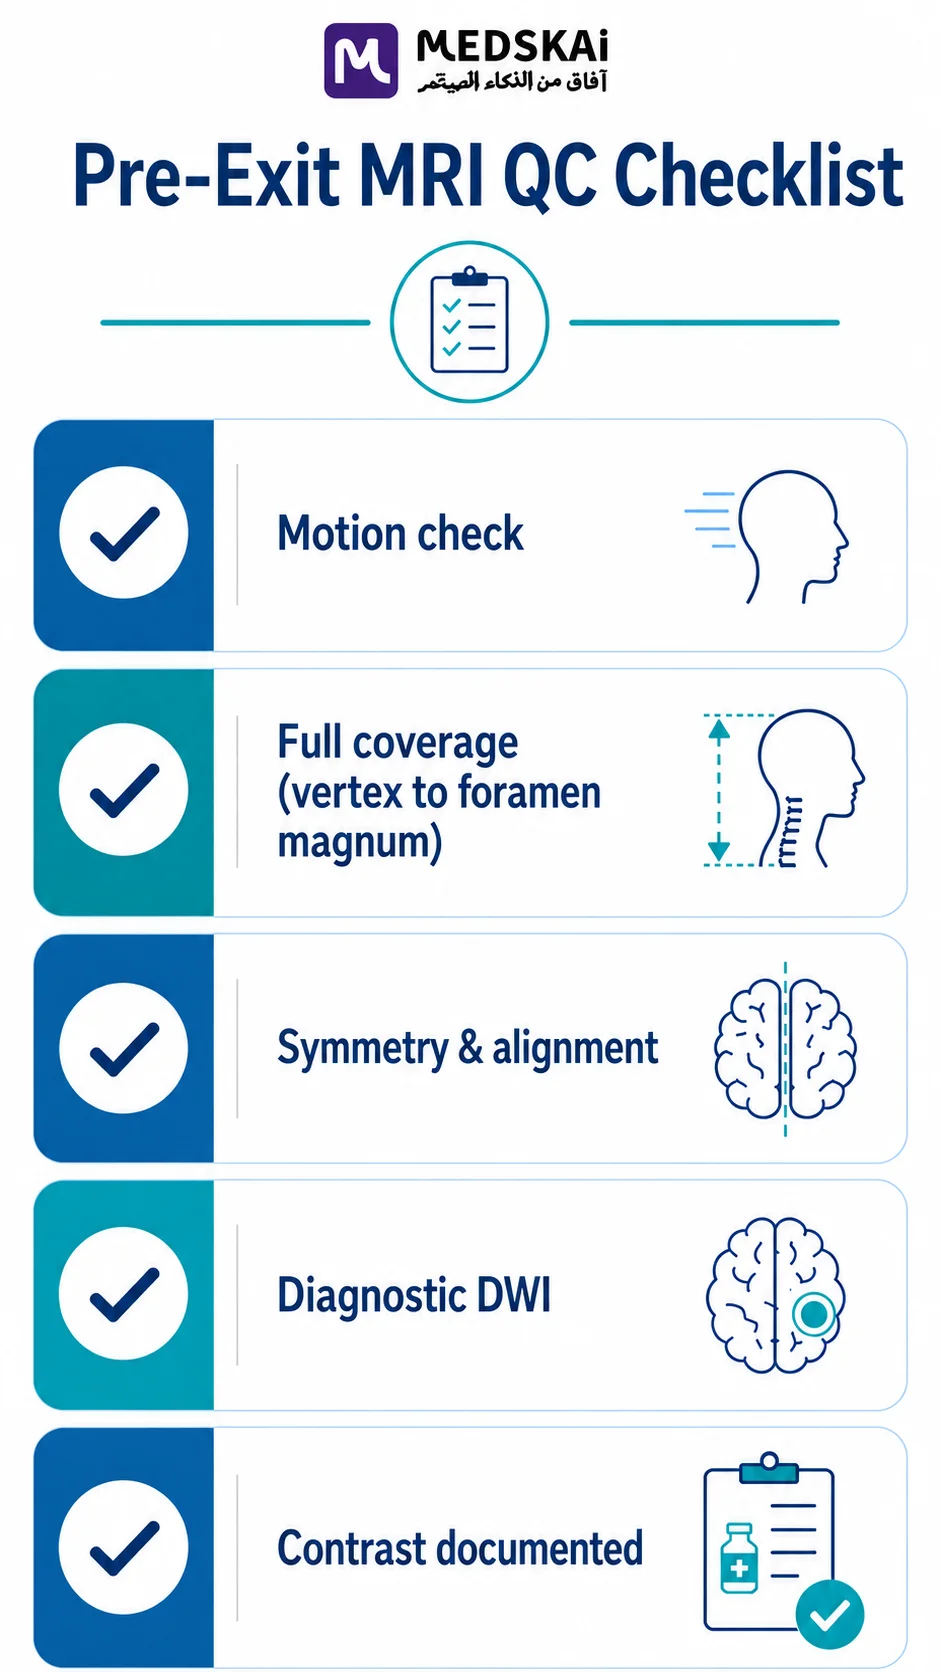
Run through this checklist as part of your MRI brain protocol before the patient leaves correcting issues now prevents repeat exams:
- Motion: review T2 and FLAIR for ghosting or blurring; repeat if significant.
- Coverage: confirm complete coverage from vertex to foramen magnum.
- Symmetry: verify axial images are aligned and the head is not tilted.
- Diffusion: ensure DWI is diagnostic and not distorted by dental fillings or implants.
- Contrast: if used, confirm post-contrast T1 was acquired and documented.
If you spot recurring image distortions during QC, our guide to recognizing and fixing MRI artifacts shows how to correct them without a full repeat.
Common Pitfalls That Trigger Repeats
- Starting with T1 or T2 in an emergency and delaying DWI.
- Not checking the ADC map, leading to false positives from T2 shine-through.
- Overloading the protocol with sequences that do not change the clinical decision.
- Letting the patient leave before reviewing every sequence for quality.
Institutional protocols should align with published standards such as the ACR Appropriateness Criteria for neuroimaging.
Frequently Asked Questions
What is the standard MRI brain protocol?
It typically includes T1-weighted, T2-weighted, FLAIR, DWI with ADC, and SWI, with post-contrast T1 if contrast is used.
Why is DWI important in the MRI brain protocol?
DWI is highly sensitive to acute ischemic stroke within minutes of onset, making it essential in emergency neuroimaging.
What is the difference between T2 and FLAIR?
T2 shows fluid as bright, while FLAIR suppresses cerebrospinal fluid signal so lesions near the ventricles become more visible.
What should be checked before ending the exam?
Motion artifacts, full coverage from vertex to foramen magnum, head symmetry, and diagnostic, undistorted DWI images.
Conclusion
A protocol-driven MRI brain protocol is not a rigid checklist but a flexible diagnostic framework that adapts to the clinical question. Combining anatomical (T1), fluid-sensitive (T2, FLAIR), diffusion (DWI), and susceptibility (SWI) imaging with careful QC before ending the exam produces diagnostic studies and prevents unnecessary repeats.
This article is for educational purposes only and does not replace consultation with a qualified medical specialist.
Build a confident, protocol-driven MRI workflow with MedSkAI’s neuroimaging training for technologists.
References
- Westbrook C, Talbot J. MRI in Practice. 5th ed. Hoboken, NJ: Wiley-Blackwell; 2019. ISBN 978-1-119-39196-2.
- Bitar R, Leung G, Perng R, et al. MR pulse sequences: what every radiologist wants to know but is afraid to ask. RadioGraphics. 2006;26(2):513–537. doi:10.1148/rg.262055063
- Runge VM, Nitz WR, Heverhagen JT. The Physics of Clinical MR Taught Through Images. 4th ed. Stuttgart: Thieme; 2018. ISBN 978-1-62623-426-5.